Natural Health Forever

Nutrition, Naturopathy & Health Coaching

Navigation
  • Blog
  • Recipes
  • Consultations
  • Programs
  • Natural Health Forever
  • Skin Care
  • Weight Loss
  • Gut Health
  • Contact/Shop
Eat, Sleep, Love, Laugh, Live, Dream, Better, Forever

SPROUTED SEED BREAD

Posted 9 May 2015 in Delicious Breakfast Recipes, Sweets & Snacks


Sprouted Seed Bread

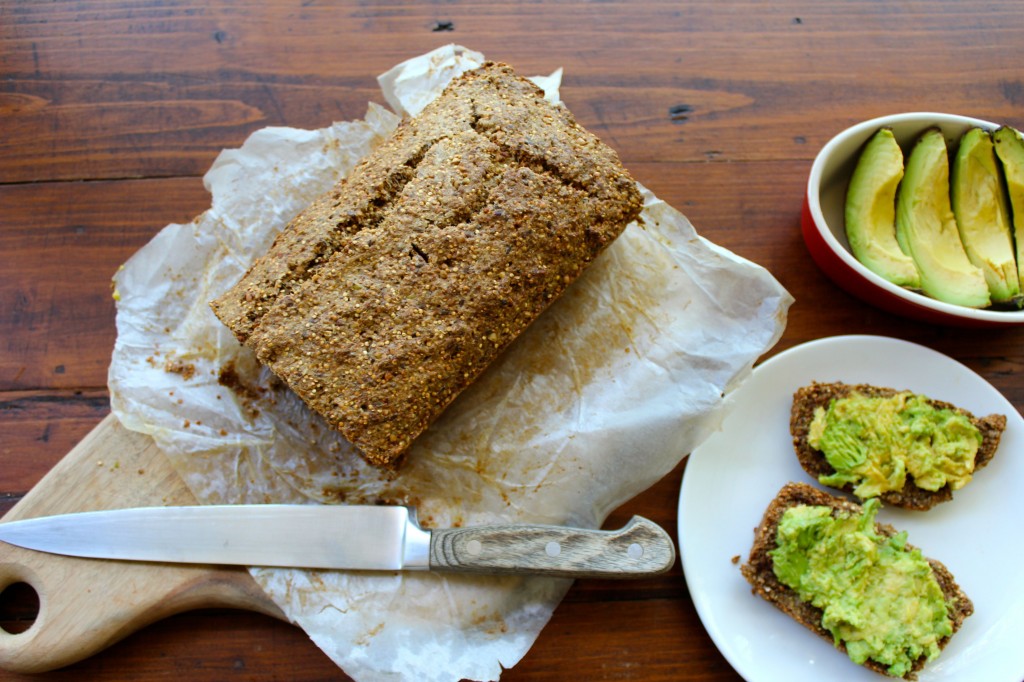
This sprouted bread really is a powerhouse of nutritional goodness. It is high in protein, essential fatty acids, B vitamins, magnesium and a smorgasboard of other vitamins, minerals and phytochemicals. If you are trying to remove grains and/or gluten from the diet it can be difficult to find a bread with the right consistency and flavour that really hits the spot. This bread hits the spot for me on both counts & has now become my staple for the week. I enjoy it for breakfast with avocado, tomato & goats feta or pesto eggs, for lunch with a salad or as a snack with some delicious nut spread. I hope you love it as much as I do!

Activating & Sprouting – why soak and sprout? 

Seeds, Nuts, Legumes and Grains contain phytic acid and protease inhibitors to stop them germinating in dry conditions. If we eat these foods without soaking them first the phytic acid reduces absorption of important minerals like iron, zinc, copper, calcium & magnesium. The protease inhibitors block enzyme function and slow down and prevent digestion of protein in the gastro-intestinal tract. Seeds like Quinoa also contain a waxy outer layer called saponins which can be irritating to the gastro-intestinal lining. By soaking and/or sprouting seeds, nuts, legumes & grains we remove the saponins, phytic acid and protease inhibitors which activates them meaning we increase the nutrient content, digestion and absorption of important nutrients, making them little powerhouses of goodness!
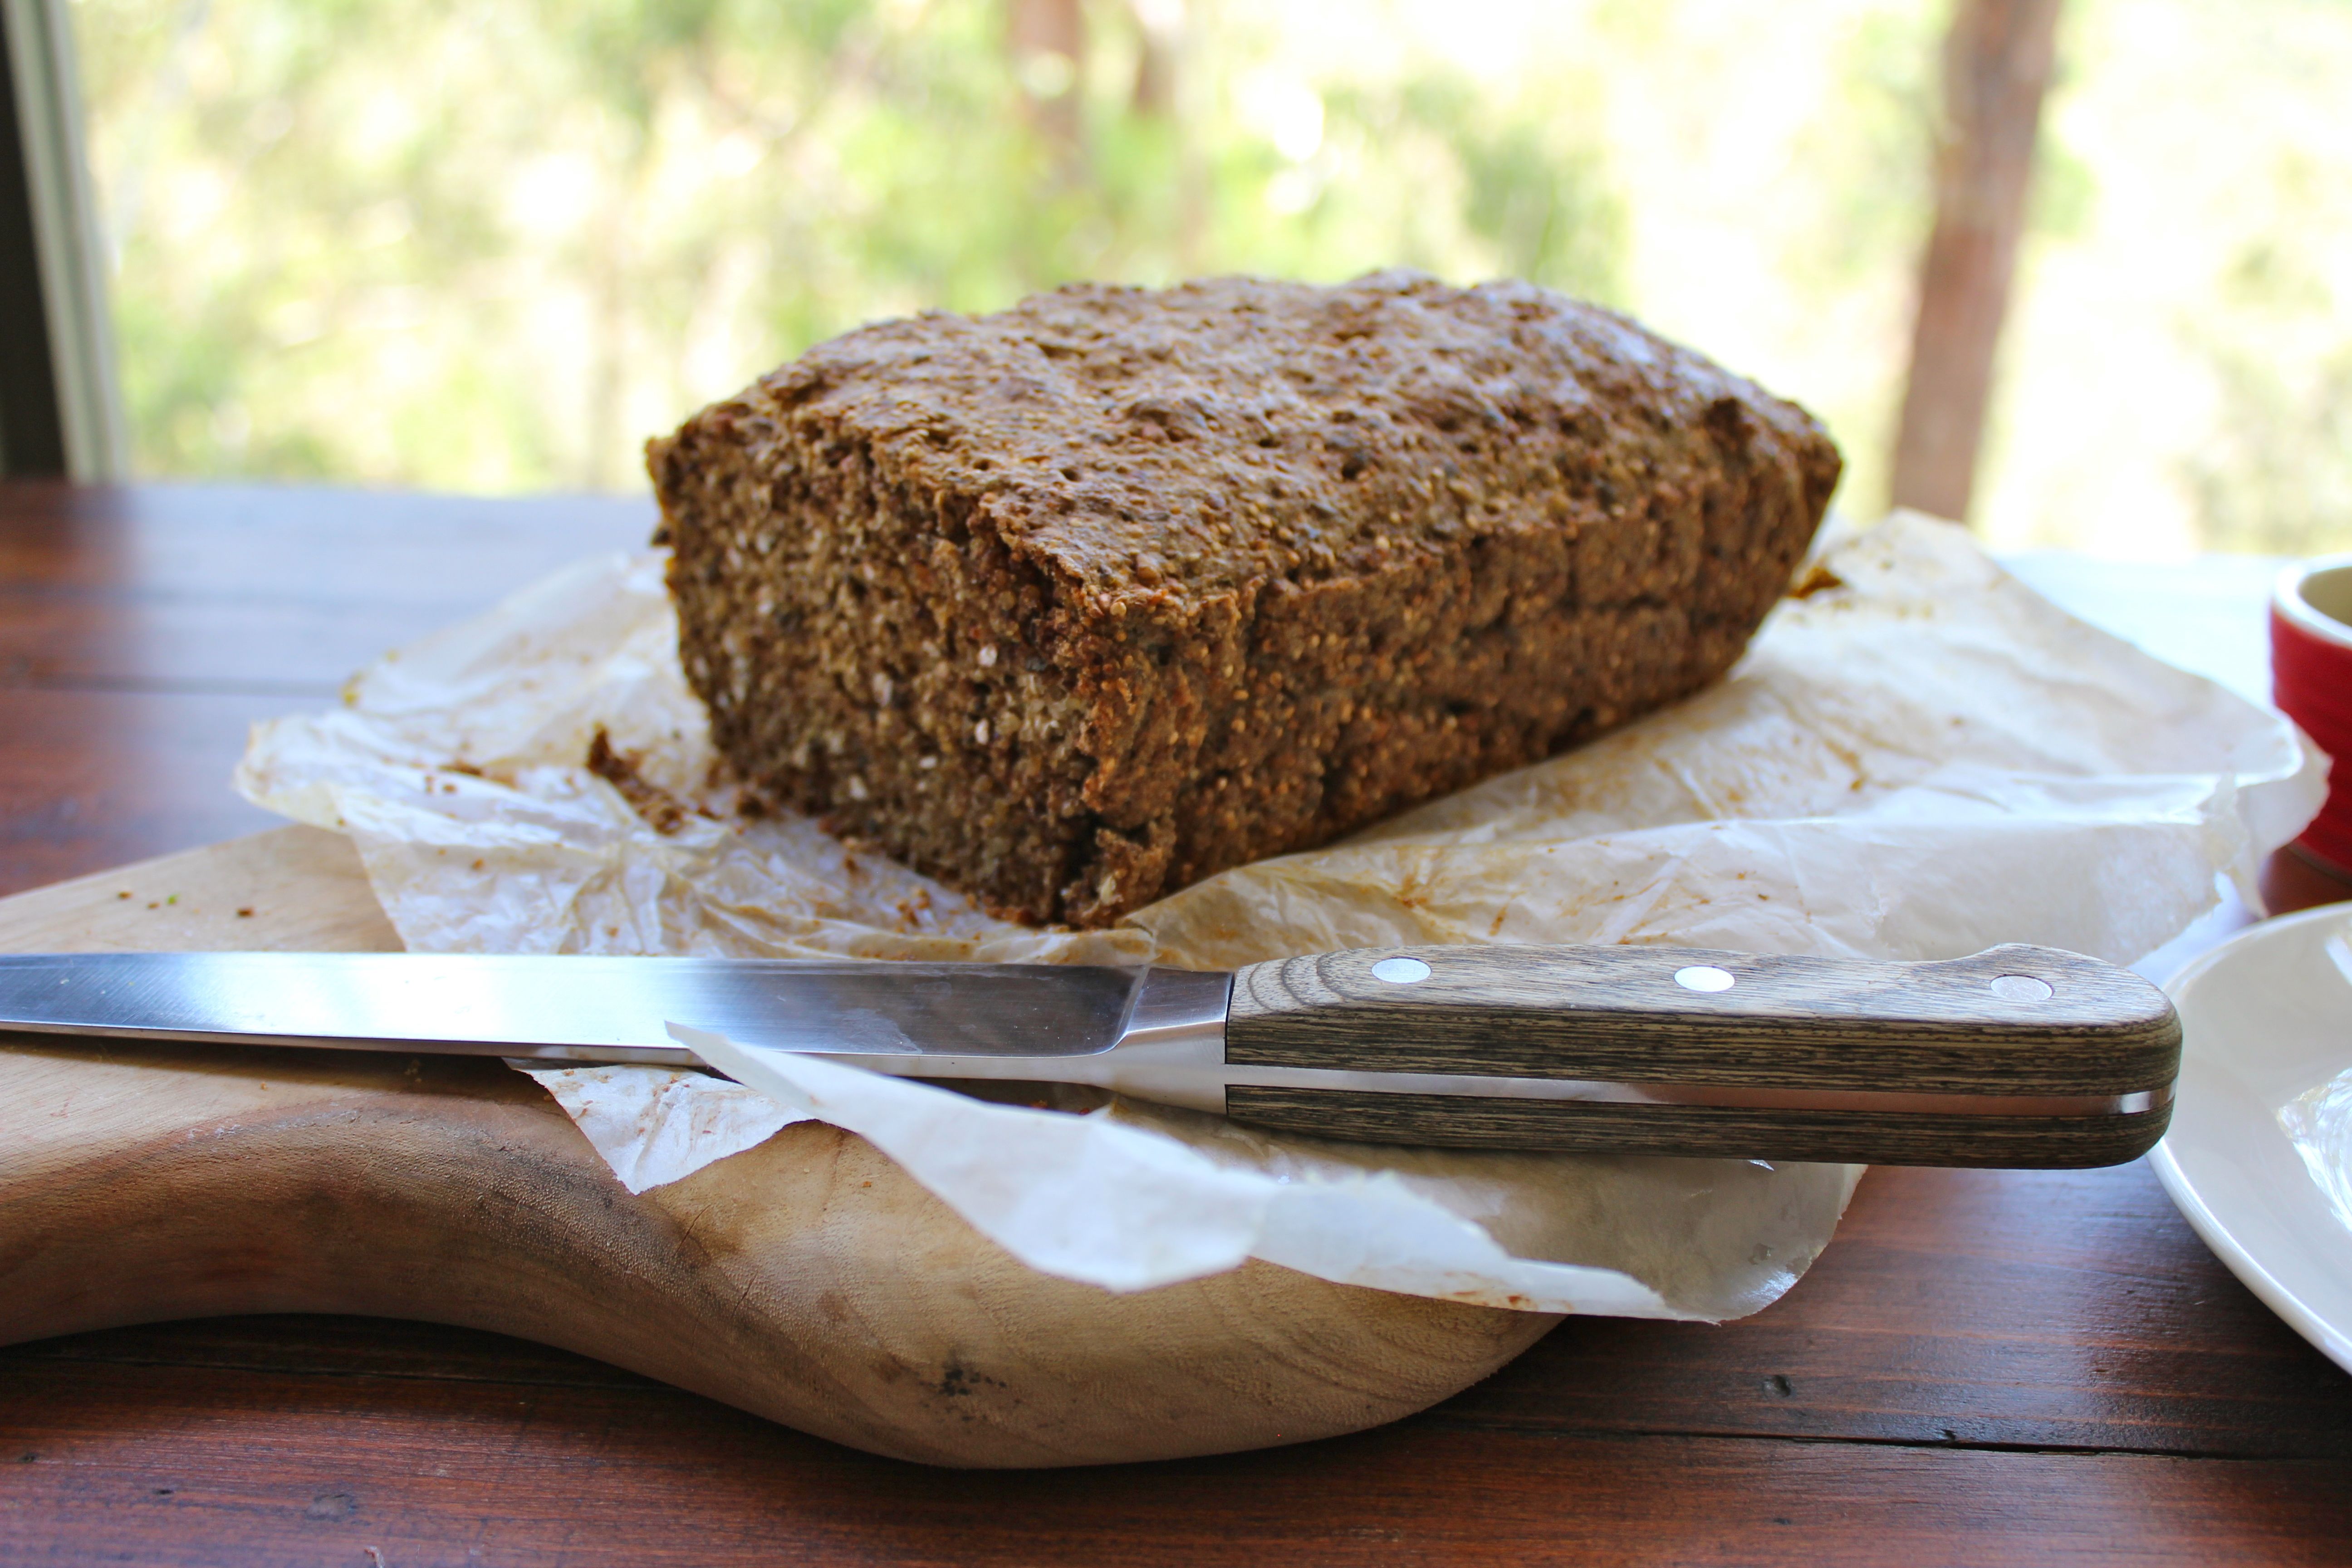
SSB

SPROUTED SEED BREAD

 Ingredients

  • 400g mixed buckwheat & quinoa sprouts
  • 50g chia seeds
  • 50g flaxseeds
  • 3 organic free-range eggs
  • 60ml macadamia oil
  • 250ml filtered water
  • 1 teaspoon bi-carbonate of soda
  • ½ teaspoon ground Himalayan salt

 Directions

  1. You can purchase buckwheat and quinoa sprouts or make your own. If you are making your own you will need to soak them in water the night before making the bread, rinse them the next morning & every few hours until you see the seeds have started to sprout. In quinoa this generally happens after a night of soaking but the buckwheat may take a little longer.  Dry the sprouted seeds ready for use,
  2. Heat the oven to 180C & line a small bread loaf tin with baking paper covered on coconut oil,
  3. Place the chia and flaxseeds in a blender and blend on a slow setting for around ten seconds.  Don’t be tempted to go faster on the blender as these seeds have a low smoking point and you don’t want to heat them up.  Add the ground chia and flaxseeds to a large bowl,
  4. Place the buckwheat and quinoa sprouts in the blender and blend for around 15 seconds on a low setting. You don’t want the seeds completely ground because having some full seeds adds a nice texture to the bread. Add the quinoa & buckwheat sprouts to the bowl,
  5. Add the eggs & macadamia oil to the bowl and mix until consistently combined,
  6. Add the filtered water and again mix until consistently combined,
  7. Mix in ground Himalayan salt (you can also use celtic sea salt or sea salt) and the bi-carbonate of soda,
  8. If the mixture is very soggy leave it for two minutes to thicken,
  9. Add the bread mixture to the bread loaf tin and bake in the oven for 40-45 minutes (you can check the bread is cooked by placing a knife into the centre, the knife should come out clean),
  10. Leave the bread to cool,
  11. Enjoy!
Tweet
Like this post? Share it!

& receive a free recipe e-book "Smoothies, Juices & Shakes"


1

Comments

  1. Donna said on

    25 September 2018

    Do you have this recipe in cups, teaspoons, etc? If so, will you please send it to me?

    Thanks so much,
    Donna

    Reply

Write a reply Cancel reply


Join me in Natural Health Forever


INSTAGRAM

This error message is only visible to WordPress admins
There has been a problem with your Instagram Feed.

naturalhealthforever

This Banana Pancake Stack uses a blend of quinoa a This Banana Pancake Stack uses a blend of quinoa and buckwheat which makes the pancakes gluten free and increases the protein content. 

Adding the banana keeps the pancakes sweet without having to add extra sugar. These pancakes are nutritious and delicious too!

Ingredients
1/2 cup quinoa flour
1/2 cup buckwheat flour
1 tsp baking powder
1 ripe banana
1 tbsp coconut oil
1 tbsp maple syrup 
Juice of 1 lemon
About 200ml filtered water

Directions
Mix all the dry ingredients together until combined then add the coconut oil, brown rice malt syrup and lemon juice & mix until evenly combined,
Add the filtered water bit by bit, until you get the right pancake consistency you desire,
Each pancake uses 2 tbsp of the mixture & I use round egg poaching mold to get the shape,
Stack the pancake layers with thinly sliced banana & sprinkle with berries & a drizzle of rice malt.
Enjoy!

#healthylifestyle #healthyfood #nutrition #foodporn #pancakes #homemade #bananapancakes #motivation #weightloss #weightlossjourney #healthy #wellness #food #foodphotography #foodie #foodstagram #foodlover #cooking #homecooking #foodblogger #instafood #foodphotography #recipe #veganrecipes #healthyrecipes #recipes #easyrecipes #vegetarianrecipes #recipeshare #recipesforkids
Spicy Coconut Soup Recipe This delicious Thai St Spicy Coconut Soup Recipe 

This delicious Thai Style Coconut Soup recipe serves 2 and takes around 25 minutes to make. 

INGREDIENTS 
1 brown onion, chopped 
2 tsp of coconut or sesame oil 
1 stalk of lemongrass, finely sliced 
1 inch piece of fresh ginger, grated 
1/2 inch piece of fresh turmeric, grated 
Pinch of chilli powder (or more depending upon your preference)
2 limes, grated zest and juice 
1 tin of coconut milk 
2 cups water (500mls)
2 tbsp tamari or soy sauce 
Veggies of your choice, I used 3 large button mushrooms and 1 green pepper both chopped) 
1/2 bunch of coriander, chopped 

DIRECTIONS 
1. Add the coconut or sesame oil to a pot with the onion and lightly sautéed until it is soft. 
2. Add all the herbs and spices (lemongrass, ginger, turmeric, chill), plus the zest and juice of the limes and saute for another few minutes. 
3. Add the coconut milk, water and tamari or soy sauce and simmer gently for 15 minutes stirring regularly. 
4. Add the veggies and 1/2 the coriander and stir through and cook for a further 2 minutes. 
5. Serve and add the rest of the coriander to the bowls. 
6. Enjoy! 

#healthylifestyle #healthyfood #nutrition #foodporn #thaisoup #homemade #health #motivation #weightloss #weightlossjourney #healthy #wellness #food #foodphotography #foodie #foodstagram #foodlover #cooking #homecooking #foodblogger #instafood #foodphotography #recipe #veganrecipes #healthyrecipes #recipes #easyrecipes #vegetarianrecipes #recipeshare #coconutsoup
Today’s lunch was a delicious quinoa salad with. Today’s lunch was a delicious quinoa salad with....really easy to make with a great flavour combination. And nice and filling to keep energy and blood sugars stable to your next meal 👍🏼

Mixed watercress & rocket (arugula) 🌱
Roasted red peppers 🫑 
Green beans 💚
Tricolour quinoa 💛
Avocado 🥑 
Olives 🫒 
Sunflower seeds 🌻 
Extra virgin olive oil 🫒
Apple cider vinegar (from mother) 🍏
Freshly squeezed lemon 🍋
DELICIOUS IMMUNE SUPPORTING MUSHROOM RISOTTO A y DELICIOUS IMMUNE SUPPORTING MUSHROOM RISOTTO 

A yummy, healthy comfort food. The recipe uses Shiitake Mushrooms & lots of garlic to help support the immune system, making this a great recipe to enjoy. I like to serve the risotto with a side of green vegetables or salad to lower the starchy carbohydrate content of the meal. 

MUSHROOM RISOTTO
INGREDIENTS 
1 tbsp good quality extra virgin olive oil
2 onions, chopped
6 cloves of garlic, thinly sliced
250g chestnut mushrooms, sliced
150g shiitake mushrooms, sliced
3 teaspoons of dried thyme
275g arborio rice
1 litre of good quality vegetable stock
Sliced spring onion to garnish

SERVING SUGGESTIONS 
sautéed green vegetables & sliced avocado
a green salad & sliced avocado
crispy onions

DIRECTIONS:
Make up a litre of stock and keep this warm.
Heat the olive oil on a medium heat in a large saucepan, and add the chopped onions and garlic and lightly sauté for 5 minutes.
Add the chestnut mushrooms and sauté for a further five minutes until they soften, then add the shiitake mushrooms and stir for a further 3 minutes.
Add the rice and thyme to the pan and stir in for a minute before adding the stock a ladle at a time. Ensure the stock has been absorbed by the rice before adding another ladle. This should take around 30 minutes in total.
Once the stock is absorbed and the rice is cooked season with salt and pepper and serve.
See the serving suggestions above for how to enjoy your risotto.
Enjoy!
Introducing the Holistic Skin Health Program 💜 Introducing the Holistic Skin Health Program 💜

This program is ideal for anyone suffering skin conditions such as acne, dermatitis, rosacea, psoriasis, eczema, allergies, dry skin, age spots, hormonal spots and anti-ageing. The program is designed to give your skin the best possible care inside and outside in order for it to be at its best. 

The Holistic Skin Care Program consists of 6 consultations over a 12 week period, starting with a 1 x hour long initial consultation and followed by 5 x 30 minute follow up consultations.  Prior to our initial consultation I will send you a food diary to complete. Because heathy skin starts from within it is important to determine whether your diet is rich in the essential ingredients needed for optimal skin health. The food diary will also help me determine whether there are any foods within your diet that may be aggravating or contributing to certain skin conditions. 

During the initial consultation we will go through your skin goals in detail, to ensure I get the program right for you. This may be overcoming a skin condition or because you want to follow an anti ageing program to ensure collagen and elastin levels are optimal (or both). After the initial consultation you will have a treatment plan and weekly meal plan with meals and snack ideas to follow. 

During the follow up consultations we will add to your treatment plan to ensure it is working for you and also go through skin care in detail including staying hydrated, and the best products you can buy or make at home for the following, 

cleansing 
exfoliation 
toning 
moisturising 
gua sha massage 
dry skin brushing
face masks & body masks 
reducing cellulite and stretch marks 
removing / reducing blemishes from the skin 
skin tags (what are they are sign of & what can you do)
natural make up brands 
what's needed for healthy hair growth (including eyebrow hair) 
what's needed for healthy nail growth 💜

#skincare #skincareroutine #skincareproducts #skinhealth #skin #skincaretips #healthyskin #healthyskincare #healthyskintips #holisticskincare
Recipe...I’m calling this my dreaming of Summer Recipe...I’m calling this my dreaming of Summer Salad 🥰☀️

This yummy salad is easy to throw together for a nutritionally balanced meal. It’s also great for a healthy and filling packed lunch to take to work. I like to make enough so that there are leftovers for lunch the next day. It’s high in plant based protein, healthy fats, vitamins and minerals and is packed full of different flavours. 

Summer Salad 
Ingredients – serves four 
2/3 cup quinoa cooked and cooled (makes about 2 cups cooked quinoa)
1 can of cannellini beans 
2 cups of green beans, lightly steamed and cooled
2 cups of peas, lightly steamed and cooled
125g cherry tomatoes, sliced in half 
1 tin or jar of artichokes, drained, washed and sliced
1 cup of raw cashew nuts
1/2 cup raisins 
1 cup of fresh mint chopped 
Dress with extra virgin olive oil,  apple cider vinegar and a pinch of mustard (I use 4 tbsp olive oil, 2 tbsp ACV and 1 teaspoon mustard mixed together as a dressing)

When all the ingredients are prepared and cool, place them in a large serving bowl and mix until evenly combined.  Dress with olive oil and apple cider vinegar to taste.  Serve straight away and save any leftovers in an air tight container in the fridge for lunch the next day.
Wholesome Strawberry Crumble Muffin Recipe 🍓❤ Wholesome Strawberry Crumble Muffin Recipe 🍓❤️ These muffins and deliciously squidgy inside with a crunchy crumbly topping. 

I promise I will post some more healthy main meals and breakfasts this week 😆lol but it's my hubby’s birthday today and he loves a crumble so I made some yummy crumble muffins for him. He's eaten 3 & 1/2 so far (daughter had the other 1/2 and loved it) so I think he's happy 😍. These muffins are easy to make with easily sourced ingredients. I hope you love them as much as we do. 

WHOLESOME CRUMBLE MUFFINS (makes 10)
2 cups plain flour (we used gluten free)
3/4 cup coconut sugar (normal sugar will work just as well)
2 tsp baking powder
1 cup plant based milk (I used almond milk, dairy milk will work too)
1/2 cup extra virgin olive oil 
2 organic free range eggs (or 2 flaxseed eggs or 1/2 cup apple puree) 
1/2 cup berries (I used blackberries today as they needed using up, but any berries will do)
1.5 cups strawberries (I used frozen but fresh are fine, raspberries would also work well)

CRUMBLE
3 tbsp flour 
3 tbsp butter (or vegan spread)
1 tbsp coconut sugar

Method 
Preheat the oven to 180C and line a baking tray with 10 cup cake bases. 
Add all the dry ingredients (flour, sugar, baking powder) to a big bowl and mix until evenly combined. 
Optional - If you are making flaxseed eggs add 2 tbsp ground flaxseeds to 6 tbsp water mix through and allow this to rest for 15 mins before using. 
In a separate bowl add the wet ingredients (milk, oil and eggs) and mix until evenly combined. 
Add the wet ingredients to the dry and mix through well. 
Add 1/2 cup berries of your choice and 1 cup of the strawberries. 
Mix well and spoon the mixture into the cup cake bases. I use a 1/3 measure to do this and add extra if needed. 
Add the extra strawberries to the top of the cupcakes. 
Mix through the crumble ingredients and add to the topping. 
Bake for around 25-30 minutes. This really depends upon your oven. Non fan will take longer so test after 25 mins with a fork or skewer comes out clean. 
Enjoy!
Wild Blueberry Brownies Recipe These brownies hav Wild Blueberry Brownies Recipe

These brownies have a rich chocolate flavour and a deliciously squidgy fudge like consistency on the inside. I use Cacao in chocolate recipes, which is the raw unprocessed form of Cocoa. It is extremely high in antioxidants, vitamins and minerals especially magnesium. 

If you can’t find hazelnut meal, buy a bag of hazelnuts and blend them for around 10 seconds to make your own. One and a half cups of hazelnuts will give you 2 cups of hazelnut meal. 

Coconut sugar can be used in recipes in place of refined sugar. It tastes delicious, has a low Glycemic Index compared to sugar and honey and a rich mineral profile.

The brownies are gluten, dairy & refined sugar free. 

Wild Blueberry Brownies
Makes: 16
Prep time: 10 min
Cook time: 30-35 minutes mins
Ingredients
2 cups hazelnut meal (almond meal will also work but hazelnut provides the best flavour)
3 tbsp cacao powder
2 tbsp coconut oil
1 tsp baking powder
1/3 cup coconut sugar
2 organic free range eggs (or 2 flaxseed or chia eggs) 
100ml water
½ cup walnuts
½ cup frozen wild blueberries (other types of berries will also work, I like the wild blueberries as they are a little tart)
Grated coconut to decorate (optional)

Method
Preheat the oven to 180°C/ fan 160°C
Line a square tin (20cm) with baking paper and grease with a little coconut oil
Add the hazelnut meal, eggs, coconut oil, coconut sugar, cacao, water and baking powder to a large bowl and mix until well and consistently combined
Add the walnuts and and mix through
Place the mixture into the lined baking tray and add the wild blueberries on top pushing them half into the chocolate mixture with the back of a spoon
Bake for 30-35 minutes until firm to touch.  The mixture will still be fairly soft and squidgy in the middle
Leave to stand until cool then turn out and cut into 16 brownies.  They are very squidgy brownies so cool thoroughly before slicing & then store in the fridge
Add a sprinkling of coconut flakes on top (optional)
Enjoy!
Here's a little healthy treat for the weekend. Squ Here's a little healthy treat for the weekend. Squidgy chocolate cookies. 

Preheat the oven to 180C 

To a bowl add 
1/4 cup almond meal 
1/2 cup rolled oats
1/2 cup oat flour (just grind oats in a blender for this)
2 tablespoons of arrow root 
1/2 teaspoon of baking soda 

Mix through until evenly combined and then add 
1/2 cup peanut butter 
5 tbsp maple syrup 
3 tablespoons extra virgin olive oil 
1/2 teaspoon of vanilla extract 

Once the mixture is evenly combined add 150g or dark chocolate broken into chunks. Divide into 8 cookies and place on a baking tray lined with baking paper. 

Bake in the oven for 8-10 minutes (depending on how squidgy you like them)

Enjoy! 

#healthylifestyle #healthyfood #nutrition #foodporn #chocolate #homemade #health #motivation #weightloss #weightlossjourney #healthy #wellness #food #foodphotography #foodie #foodstagram #foodlover #cooking #homecooking #foodblogger #instafood #foodphotography #recipe #veganrecipes #healthyrecipes #recipes #easyrecipes #vegetarianrecipes #recipeshare #recipesforkids
This was our delicious breakfast this morning ❤️ Overnight chia oats with strawberry cream and toppings 🍓

For the overnight oats I used 
1 cup of wholegrain/rolled oats, 
2 tbsp chia seeds and 
1 and 1/2 cups unsweetened almond milk. 

For the strawberry cream I added around 
2 cups frozen strawberries to a blender with about 
1/4 cup almond milk and 
1 tbsp maple syrup and blended until smooth. 

For the topping I used fresh blackberries, coconut and a little granola. 

Yum yum. Enjoy!
Yum yum who doesn’t love pizza? I’ve put the l Yum yum who doesn’t love pizza? I’ve put the link in my bio to these delicious herbed buckwheat pizza bases to which you can add your favourite toppings. I love using buckwheat it’s so versatile to work with and kid friendly too my little one loves buckwheat pasta.
My ❤️🥰 My ❤️🥰
Follow on Instagram

& receive a free recipe e-book "Smoothies, Juices & Shakes"

Categories

  • Delicious Breakfast Recipes
  • Guest Recipes
  • Healthy Eating
  • Immunity
  • Natural Health
  • Nutritious Main Meals
  • Skin Health
  • Smoothies Juices & Shakes
  • Sports Nutrition
  • Sweets & Snacks
  • Uncategorized
  • Weight Loss

Dessert Recipes

Dessert Recipes

Smoothie Recipes

Smoothie Recipes

View our Events

View our Events

View All Recipes

View All Recipes

About My Approach

About My Approach

Attend a Workshop

Attend a Workshop

View All Recipes

View All Recipes

© Natural Health Forever 2020 • Design by Neverland